Do NOT expose AM125 to any moisture—moisture ruins it! Re-cap the containers immediately after pouring.
Store AM 125 at 72F/room temperature.
AM125 has a 60 day shelf life once you open the containers. Do NOT use silicone thinners, thickeners or accelerator with AM125! It will not work with these additives.
Do NOT use AM125 Silicone Rubber with any sulfur-based clay or with latex gloves!
DO NOT USE ON HUMAN OR ANIMAL SKIN!
Main Applications:
Molds for large and small statues
Molds for polyester, polyurethane and epoxy resin castings
Molds for technical articles and prototypes
Molds for furniture and picture frame replication
Molds for candles and soap
NOT for use in ovens
Properties:
Uncured Properties:
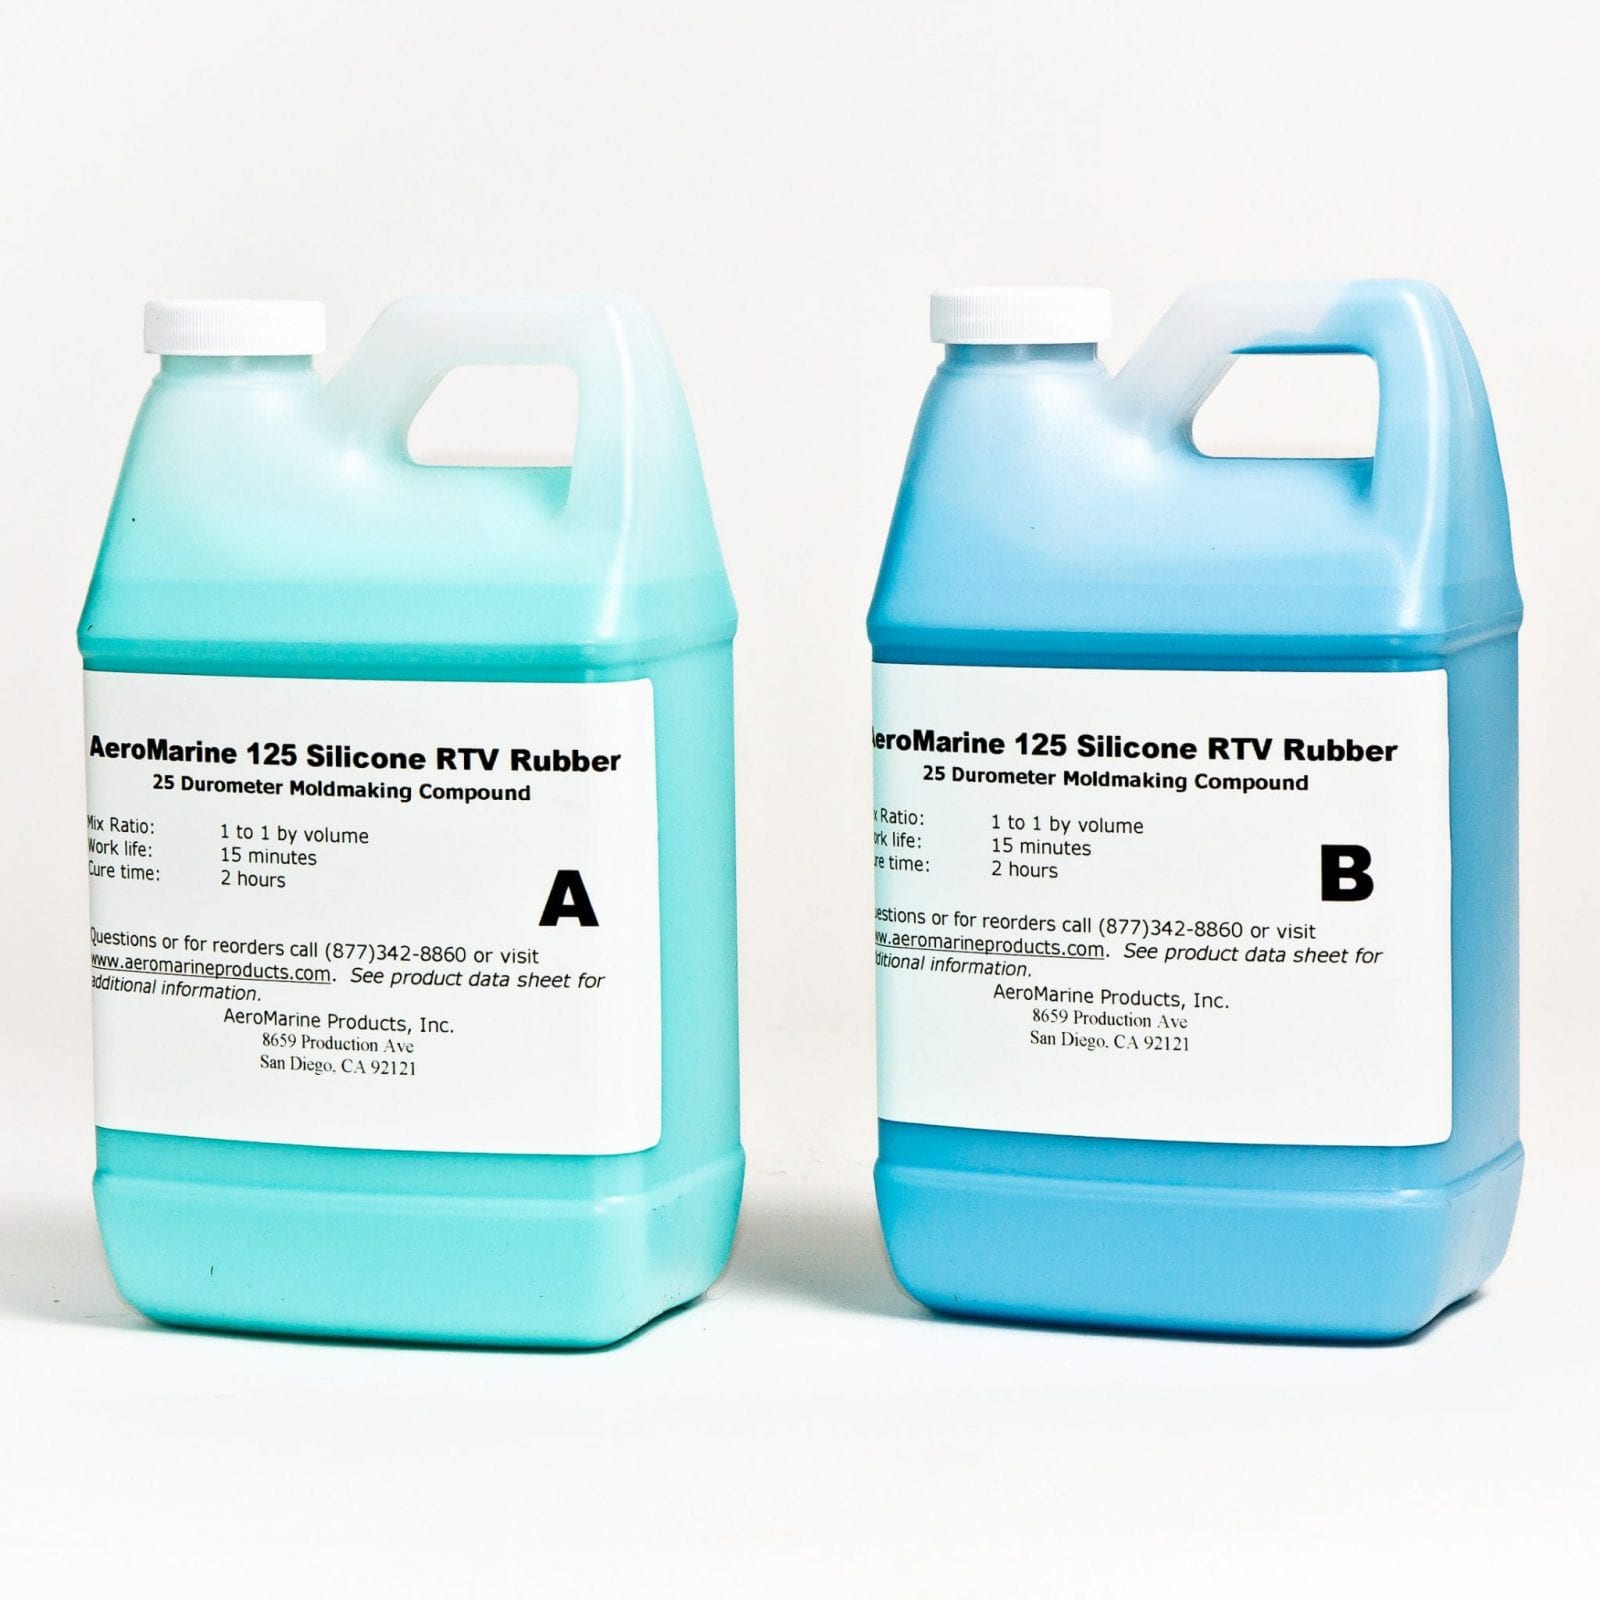
Component A:
Appearance: Green
Viscosity, cps: 4,000
Component B:
Appearance: Blue
Viscosity, cps: 4,000
Catalyzed Properties:
Specific Gravity: 1.34
Pot Life: ~15 Minutes
Cure Time (demold): 75 minutes
Post Cure: 8 Hours
Typical Cured Properties:
Durometer: 25
Tensile Strength, psi: >240 psi
Elongation, %: >250%
Tear B, ppi: ~ 40 ppi
Linear Shrinkage: 0.0025 in/in
Useful Temperature Range: -65F to 450F
Cure Characteristics:
The curing process begins as soon as the catalyst is mixed with the base.
Under normal temperature (25C) and humidity (50% RH) conditions, the material will cure as described in the data above.
Any large change in temperature (+/-5C) or humidity (>60-70%) may alter the cure profile of the material.
Material Compatibility:
This product works with most Epoxy and Urethane resins on the market today, however due to the wide variety of products with different chemistries and formulations, we cannot guarantee that it will work with all of them. Some epoxy resin products will not cure when they come in contact with TIN CURE silicone resin and can only work with Platinum Cure silicone. If you are not sure about your epoxy product’s compatibility with this material, please contact the vendor of your epoxy and ask them about compatibility with Tin Cure silicone, or perform a small test before engaging on a major project.
HOW-TO:
Preparation:
You will need an original part, clean mixing containers, mixing utensils, and a mold box into which to place your piece while making your mold.
A mold box can be made out of almost anything, including a reusable food container, cardboard, wood and/or Legos.
You may also need a digital scale, a glue gun and/or non-sulfur based clay.
Depending on the size of the part, 1/2″ of silicone mold-making rubber is the minimum thickness necessary for the walls of your mold.
Making it too thick will reduce the flexibility of the mold; while too thin will reduce the resistance to tearing.
Silicone RTV mold making rubber may soak into a porous surface like wood or plaster. To prevent sticking, first seal the part with a sealant appropriate to the material.
Types of Molds:
BLOCK mold, one piece. The part usually has no negative draft or undercuts. Building this mold is simple. Mount your part in the center of a container or mold box. You will need at least ½ inch of silicone on all sides of the part. Apply mold release, if needed. Next, pour your mixed silicone in the shallowest area of the container. Pour only into this spot and let the silicone flow naturally around the part. This reduces air bubbles in the silicone. Once the silicone has cured, you can de-mold your part.
BLOCK mold, multiple pieces. This part has undercuts and/or is complex. The mold must be taken apart to remove casing. You can make this type of mold using non-sulfur, non-drying modeling clay and pouring the silicone in 2 separate pours. Use a mold release between the pours to keep the silicone from sticking to itself. To keep the cured mold together, you can use rubber bands or painter’s tape.
Measuring & Mixing:
Shake the catalyst very vigorously for 60 seconds measuring it out by volume.
Measure parts A and B accurately.
Once you have correctly measured both parts, mix parts A and B together with a plastic or wooden stirring utensil.
Take care to scrape the sides and bottom of the mixing container.
Keep your stirring utensil on the bottom of the container to reduce the amount of air being mixed into the silicone.
Mix for a few minutes, scraping the sides and bottom frequently, until the silicone is one uniform color with no streaks.
Pouring Silicone:
When pouring your silicone, do NOT pour it directly onto the part. Instead, pour the silicone into the shallowest part of the mold and let it find its own level. This method prevents air bubbles forming on the surface of your part.
Storing Your Cured Silicone Mold (Storage longer than 1 week)
First, apply mold release to your cured mold.
Second, pour your casting material into the prepared mold. Or, you can insert a previously cast cured piece into the prepared mold.
Third, put your mold (if a smaller mold) with the piece in it into a doubled “Ziploc” type bag with all the air pressed out of the bags.
Fourth, seal the bags tightly closed using either a plastic bag sealer or over-tape them with duct tape.
For larger molds, use very heavy duty doubled garbage bags, remove all the air and seal tightly either with a plastic bag sealer or over-tape with duct tape.
Finally, put your sealed, bagged mold into a plastic storage container with a lid, close the lid and store on a flat shelf/surface (NOT the floor or window) at continuous 70F out of direct sunlight.
Cleaning Your Silicone Mold:
Wash your cured silicone mold with warm/hot water and mild liquid dish soap.
Pat dry thoroughly and then let the mold air-dry fully.
Never use any type of abrasive soap, cleaner or pad to clean your silicone mold!
Tips:
Mold Release:
Generally, silicone RTV mold making rubber does not stick to anything, and nothing will stick to it. The exception is that it will stick to itself, other silicones, silica, and glass. Mold release will prolong the life of your mold because it reduces the wear on the mold by making it easier to remove your cast piece.
Shipping
Via UPS Ground
Shipping Estimate for the United States and Canada is 5 business days for delivery.
Returns
We only accept returns of unopened and unused product. Customer must return product within 30 days of receipt. Customer must contact us before returning a product. Customer pays for return shipping. All returns are charged a 15% restocking fee.
**shipping estimates may vary based on product selection and destination and a tracking code will be sent after checkout.
Canadian Customers**
If you are ordering from Canada, additional shipping rates and fees may apply. Please contact one of our representatives for more information. Contact us today!
 Same Day Shipping: Orders Placed Before 2pm PT M-F